A Step-by-Step Guide to Replacing a Broken PS5 HDMI Port
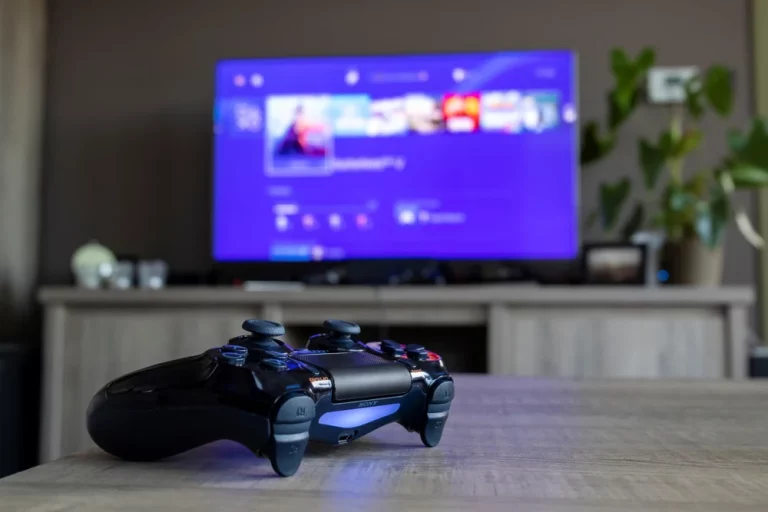
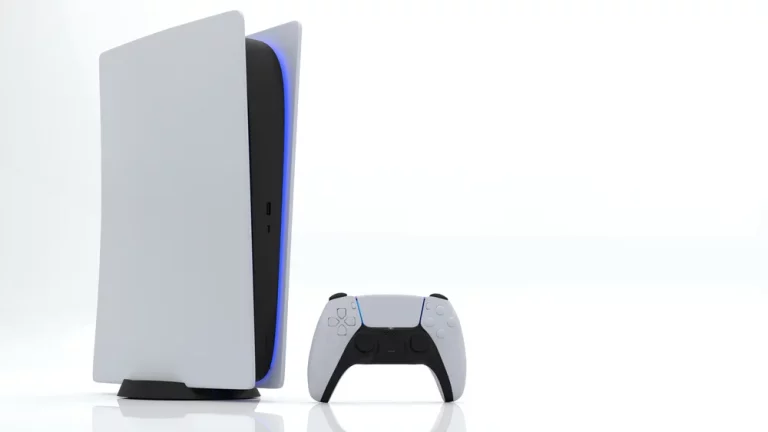
The PlayStation 5 (PS5) is one of the most powerful gaming consoles available today, offering stunning graphics and immersive experiences. However, like any electronic device, it’s prone to hardware issues, and one of the most common problems users face is a damaged or faulty HDMI port. Whether it’s due to wear and tear or accidental damage, a malfunctioning HDMI port can make your PS5 unusable. The good news is that, with the right tools and knowledge, replacing a broken HDMI port on your PS5 can be done at home. This step-by-step guide will walk you through the process and help you get your console back up and running.
Before diving in, it’s essential to evaluate whether you should attempt a DIY repair or seek professional help. In some cases, attempting repairs on your own may void your warranty or worsen the damage if done incorrectly. This is where understanding the difference between DIY and professional repairs becomes crucial.
Tools You’ll Need
Before you start replacing the HDMI port, gather the following tools:
- Soldering iron
- Desoldering pump or wick
- Phillips head screwdriver
- Replacement HDMI port (compatible with PS5)
- Tweezers
- Spudger tool
- Flux and isopropyl alcohol
Step 1: Assess the Damage
First, you need to confirm that the HDMI port is the actual issue. Common symptoms of a broken HDMI port include:
- No signal to the TV/monitor.
- Intermittent video output.
- Visible damage to the port (bent pins, loose connection).
If you’re unsure whether it’s the port or a different component, consider seeking professional repair services before proceeding. For instance, if the console shows signs of other hardware issues, such as overheating, it might be better to have a technician diagnose it.
Step 2: Prepare Your Workstation
Ensure your workstation is clean and free of any clutter. Disconnect your PS5 from all power sources and unplug any external devices. Protecting your electronic devices from static discharge is vital, so consider using an anti-static mat or wristband to prevent static damage.
Step 3: Disassemble the PS5
- Start by removing the PS5’s outer casing. Using a spudger tool, carefully lift and slide the case off.
- Unscrew the screws holding the PS5’s metal shielding in place, and carefully remove the shield.
- Disconnect any cables or wires that might be in the way, such as the power supply and fan connectors. Be gentle to avoid damaging the internal components.
It’s essential to stay organised during this step, so consider placing screws in a labelled container to avoid confusion later.
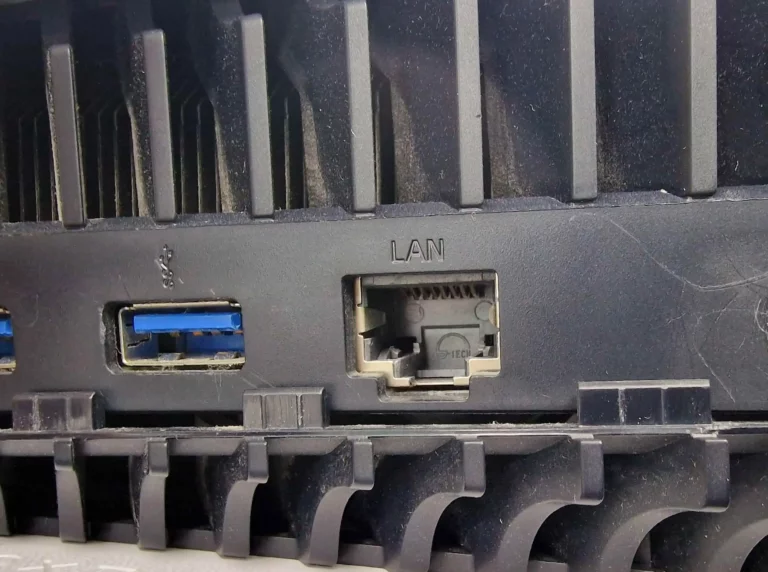
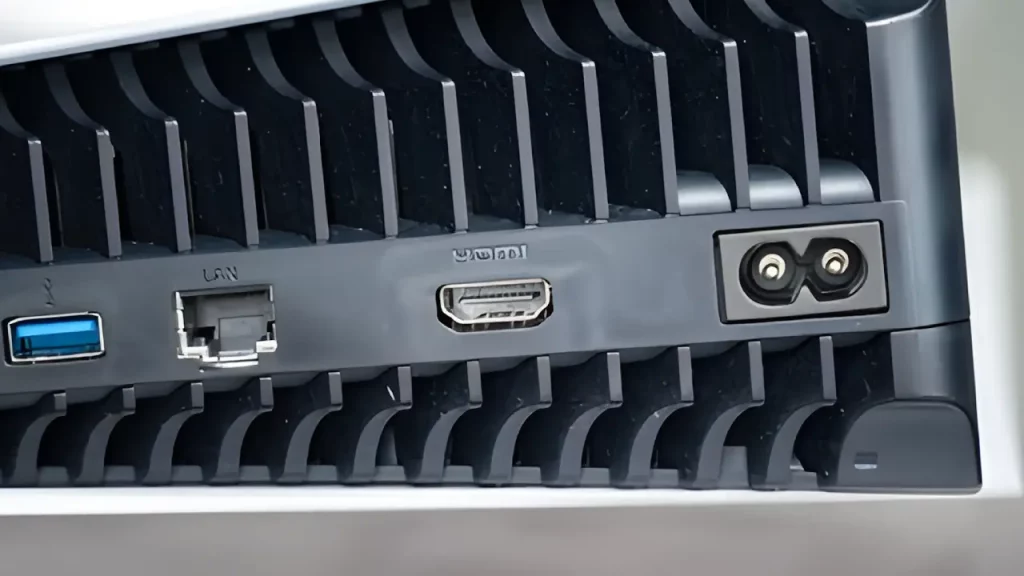
Step 4: Locate and Remove the HDMI Port
With the PS5 disassembled, locate the HDMI port on the motherboard. Use a magnifying glass if needed to inspect the solder joints. If you spot broken or loose connections, this confirms that the port is faulty and needs replacement.
To remove the HDMI port, use your soldering iron to heat up the existing solder on the connection points. Once the solder is melted, use a desoldering pump or wick to remove it. Gently lift the broken HDMI port off the board with tweezers.
For those who are hesitant about dealing with delicate components like the motherboard, it might be wise to consider professional repairs, especially if the damage seems complex.
Step 5: Install the New HDMI Port
Now that the old port is removed, it’s time to install the new one. Place the new HDMI port onto the motherboard and ensure it aligns perfectly with the connection points. Apply flux to the solder joints to help the new solder flow smoothly. Use your soldering iron to solder the new HDMI port in place.
Be sure to check that the solder joints are solid and that there are no bridges or weak connections. A bad solder job can result in the HDMI port malfunctioning again.
If you’re interested in learning more about how gaming consoles are evolving in design and repairability, check out this article on the latest trends in gaming consoles.
Step 6: Reassemble the PS5
Once the new HDMI port is securely soldered, it’s time to put your PS5 back together. Reattach the metal shielding, reconnect any cables or connectors you removed earlier, and screw everything back in place. Slide the outer casing back on, and ensure everything fits snugly.
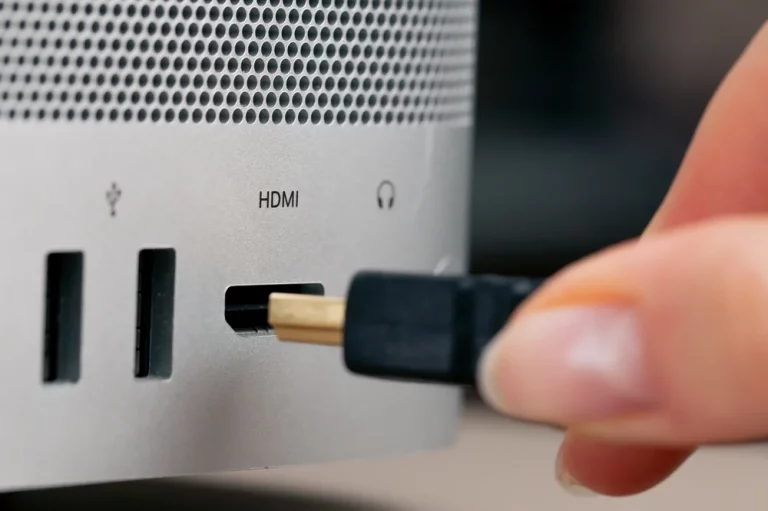
Step 7: Test the HDMI Port
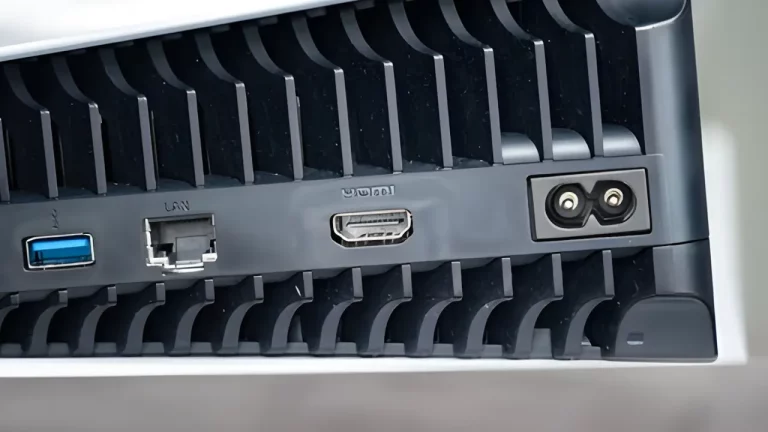
After reassembling your PS5, plug it back into your TV or monitor and power it on. Check if the video output is working correctly. If everything was done correctly, your PS5 should display video without any issues.
If the problem persists, revisit your soldering work to ensure no connections were missed. If you feel uncertain at any point during the repair, remember that seeking professional help is always an option.
Step 8: Prevent Future HDMI Port Damage
To avoid future HDMI port issues, follow these tips:
- Be gentle with cables – Avoid yanking or pulling on HDMI cables, as this can damage the port.
- Use a right-angle HDMI adapter – This reduces strain on the HDMI port, especially if your PS5 is placed in a tight spot.
- Regular maintenance – Keep your electronics clean and free from dust, as dust build-up can lead to overheating and other issues.
When to Seek Professional Help
While replacing an HDMI port can be a straightforward DIY project for those with technical skills, it’s not for everyone. If you’re uncomfortable working with a soldering iron or feel unsure about any part of the process, don’t hesitate to contact a professional repair service. Attempting repairs without the proper tools or knowledge can sometimes lead to more significant issues, such as damaging the motherboard.
For example, if you’re unsure whether the HDMI port is the root of the problem, you might want to consult with a professional PS5 repair service. They can perform diagnostics and ensure that the repair is done correctly without voiding your warranty or risking further damage.
| Step | Action | Details |
|---|---|---|
| Step 1 | Assess Damage | Check for symptoms such as no signal, intermittent output, or visible port damage. |
| Step 2 | Prepare Workstation | Ensure the workstation is clean, and disconnect the PS5 from all power sources. Use an anti-static mat or wristband for protection. |
| Step 3 | Disassemble PS5 | Remove the outer casing, unscrew metal shielding, and disconnect internal cables carefully. |
| Step 4 | Remove HDMI Port | Use a soldering iron to heat and remove the damaged port. Use a desoldering pump or wick for clean removal. |
| Step 5 | Install New HDMI Port | Align the new port, apply flux, and solder the connection points securely. Ensure no solder bridges or weak joints. |
| Step 6 | Reassemble PS5 | Reattach metal shielding, reconnect cables, and screw the components back in place. Ensure the outer casing fits snugly. |
| Step 7 | Test the HDMI Port | Power on the PS5 and check if the video output functions correctly. Troubleshoot soldering if necessary. |
| Step 8 | Prevent Future Damage | Be gentle with cables, use a right-angle adapter, and regularly clean the console to prevent overheating or port damage. |
Final Thoughts
Replacing a broken HDMI port on your PS5 might seem daunting, but with the right tools and careful attention to detail, it can be done at home. However, if at any point you feel uncomfortable, or if the damage extends beyond the HDMI port, it’s crucial to consult a professional repair technician to avoid costly mistakes.
For more insights into DIY vs professional repairs, check out this guide, which highlights the advantages and potential pitfalls of handling electronics repairs on your own.
Taking care of your gaming console is essential for maximising its lifespan, and performing regular maintenance can help prevent costly repairs in the future. Be mindful of how you handle your console and HDMI cables, and if something goes wrong, don’t hesitate to either DIY or seek professional help.
For those looking to upgrade or replace their console, understanding the latest gaming trends can help guide your decision, ensuring you get the most out of your gaming experience.